How to fold a shirt with paper.
In business, it’s important to showcase your product(s) in the best way possible to keep your customers coming back, and to ensure they know they are getting quality from their purchase.
Before I begin this tutorial, let me first say that using a good iron and heat n bond light will GREATLY increase your success with this method.
One of my sweet testers shared this with me and now, I’m sharing it with you. I’m not a professional folder or photographer, but I’m learning!
Ok, let’s get to it.
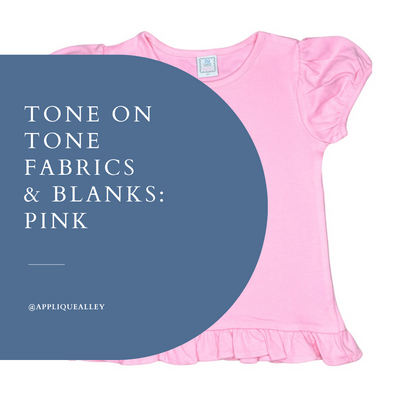
First, grab a quality blank with a cute Applique. 😉 I can help you find both!

Press over the shirt to smooth out any wrinkles. Flip it over.

Lay a sheet of regularly typing paper right under where the neckline falls. You can most likely see/ feel it through the back. 
Fold the neckline down and the bottom up. 
 You will not start with the sleeves due to the fact they will make your shirt look bumpy and lumpy.
Now, fold the sides over, while slightly pressing the paper about 2 inches to create a good crease that will hold your shirt in place. 
 Fold the bottom up again. This will vary depending on the size of your design and on the size of your shirt.

Flip it over to check if needed. The paper should hold your shirt in place.

Create a good crease.
FINISHED!
Now, you have a clean looking product with no distractions to photograph or pack up and send! Vinyl backdrops are also GREAT for showcasing.

This is NOT the way… Even though The item looks ok… The other way is MUCH more crisp and professional.
 Hope this helps!